Gunsmithing a custom rifle stock is a great way to personalize and upgrade the quality of a firearm. And it is a great way to start learning about how to design and build guns. And, for any firearms with suitable action, but a plastic stock, smithing your rifle stock from scratch is a great way to enhance the quality of your shooting experience.
Learn everything you need to know about gunsmithing your rifle stock from scratch. See the step-by-step process the gunsmith takes to craft a custom-fit rifle stock. And, find out the best way to get started on your custom rifle stock project.
A Step by Step Guide to Gunsmithing a Custom Rifle Stock for Beginners
Gunsmithing your custom rifle stock from a blank is a do-it-yourself (DIY) project that is extremely rewarding and enhances the experience of shooting. To craft a rifle stock, a gunsmith uses knowledge of engineering, design, and artistry. The process involves inletting the action, cutting off the excess wood, sculpting the rest of the wood stock by hand, and finishing the stock with wood oil or laminate.
Creating your rifle stock from scratch requires skills and tools for woodworking that might be a stretch for beginner carpenters. The best choice might be to get a partially finished blank that you only have to inlet the action for your specific gun. Talk to a gunstock associate to see which blank stocks are the best fit for your gun.
It is high labor, time, and skill-intensive task to complete a rifle stock from scratch. To begin with, you need basic hand tools for woodworking, like wood chisels, handsaws, sandpaper – etc. – as well as power tools and shop tools. To cut the dense hardwood with the most precision and efficiency you need a table router, wood planer, table saw, bandsaw, and drill press.
Finding and Choosing a Hardwood Stock Blank
A gunstock begins as a hardwood blank. A blank is just a block of hardwood that is ready to be customized for a firearm. But, the usable wood must first be milled from timbers.
The most popular types of hardwood for rifle stocks are black or claro walnut and maple heartwood. Walnut and maple are among the densest hardwood species, which provide the durability required to support the action of the firearm.
With access to walnut or maple timbers, you can square the log by cutting off the sapwood with a chainsaw, or by putting the timber through a mill. Then, you can cut the wood down to the right diameter by using a bandsaw. After the wood is cut to roughly 3-inches in diameter and 34-inches long, use hot wax to seal the ends of the woodblock and dry it for about 12-months to prevent cracks from forming.
If you don’t have access to timbers or a sawmill you can order a precut stock blank and progress the gunsmithing portion of the process. Stock blanks are available in different wood-grades that correspond to the block grain pattern and other aesthetic qualities.
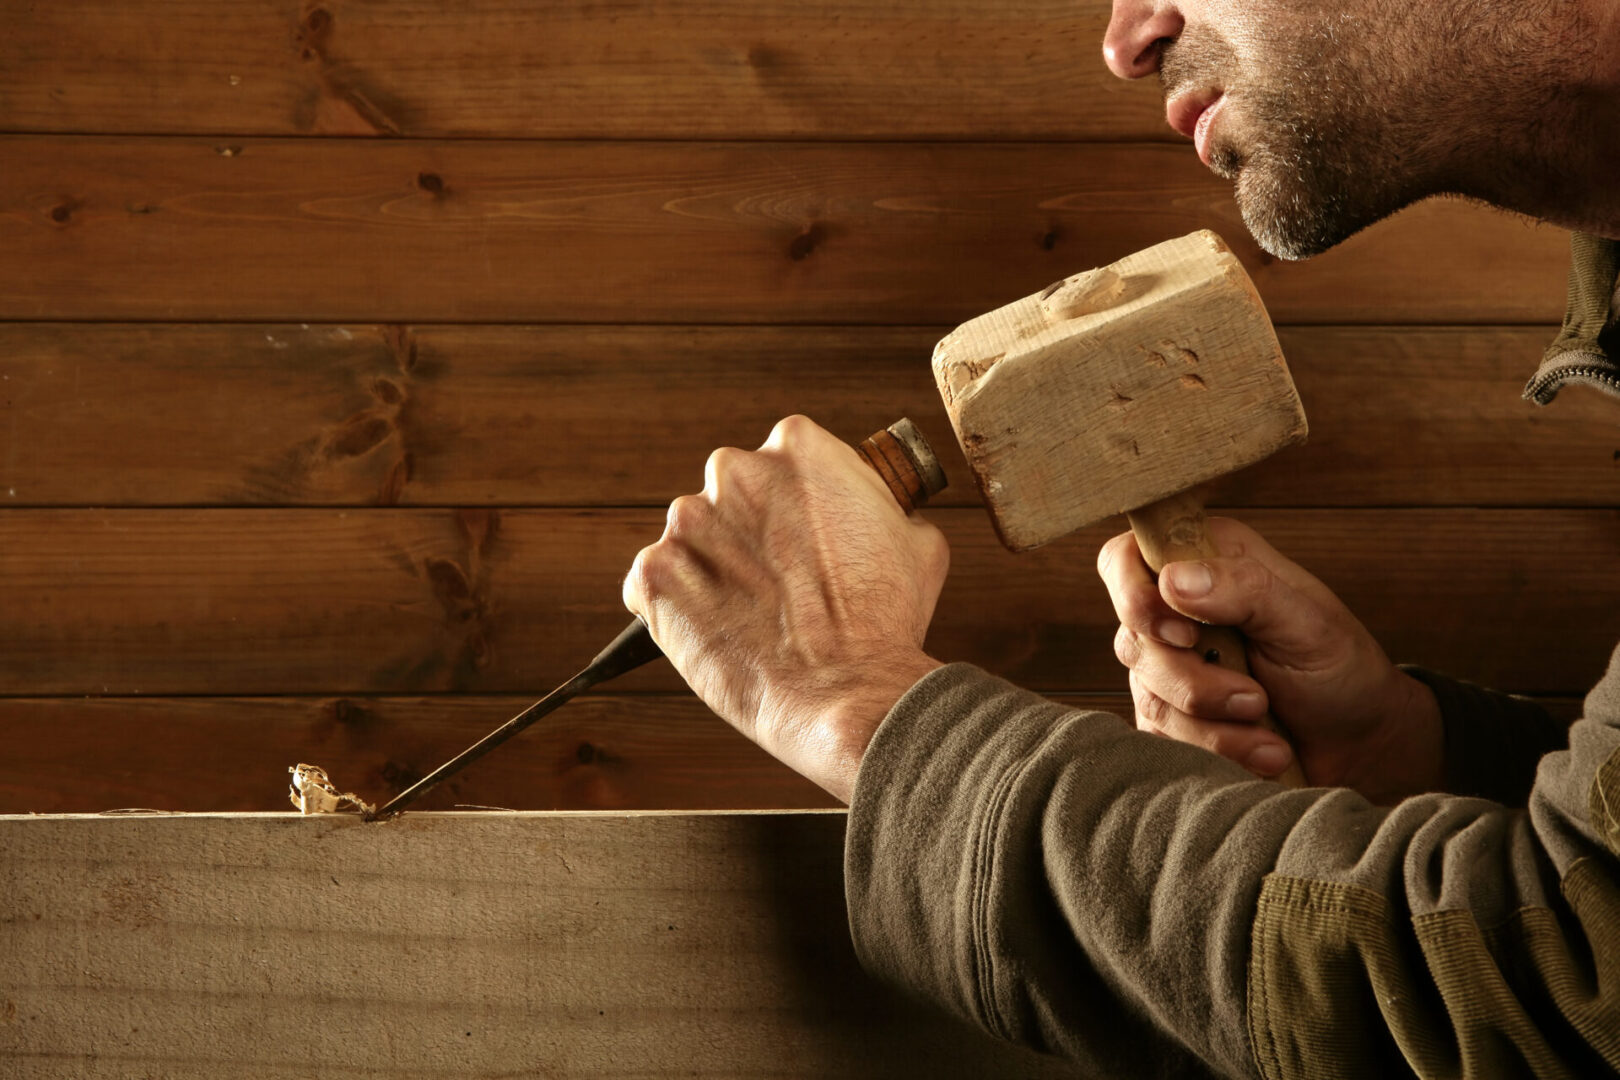
Step 1: Inletting the Action to the Stock
The first step to crafting your custom stock is to create a solid fit between the stock and the action of the gun. If you are designing your stock from scratch, create an outline stencil for the side-profile and transfer the design onto your wood blank. If your stock is 96% semi-inlet you have to do some fitting of the action by hand, but with a Press-Fit 99% inlet stock you can skip to the last step of finishing the stock.
The best way to cut the barrel groove and action inlet are with a table router and precision carpentry instruments. Even if your stock is 96% semi-inlet, there is important work to be done before the action will fit correctly. Most beginners prefer to bypass the custom bolt-fitting and opt for a 99% “Press-Fit” inlet, which requires minimal custom fitting.
For a semi-inlet stock, use inletting black to provide an optical indication of where the action meets the wood. By meticulously shaving off the excess wood until the inletting black covers all of your stock’s action inlet, you can form a perfect fit for your stock to the action of your gun. The same process takes place on the flip-side of the stock, to fit the trigger-pins to the action.
Step 2: Shaping the Blank to Your Rifle Stock Design
The process of shaping your rifle stock is, by far, the most meticulous and technically demanding. It is also the stage that shows the most dramatic change in your stock. With the right skills, tools, and dedication, you can see your rifle transform from a piece of wood into a purpose-built piece of craftsmanship.
If you are a beginner at gunsmithing your rifle stock, consider starting with a birch blank, instead of dense hardwoods like walnut or maple. Birch is softer, easier to carve, and offers a wider margin of error. Or, consider an unfinished and pre-shaped rifle stock, with which you can customize the finishing work and focus on fine-tuning the rifle to your shooting style.
Step 3: Finishing the Stock for Function and Aesthetics
The process of finishing a rifle stock is similar to finishing any woodworking project. You want to systematically work the grain to bring out the beauty and shape of the wood. This involves sanding, whiskering, and applying an oil finish. Start by sanding the unfinished stock with 80-grit sandpaper, by wrapping the sandpaper around a solid wood block and rubbing back-and-forth in the same direction as the wood grain.
Wet a clean rag with distilled water and use it to remove the excess dust from sanding. Once the stock is wet, use a heat gun or hairdryer to rapidly dry the wood. The result is that the imperfections in the grain are brought to the surface, allowing you to increase the grain clarity – a process, called whiskering.
Repeat this process three or four times before using mineral oil to soak the wood. After allowing the mineral oil to dry, use finer and finer grit sandpaper to repeat the process. Between sandings, use a mixture of 2-parts mineral oil to 1-part Tru Oil to spread across the wood with your finger – sanding immediately after applying the oil mixture.
After you ascend to about 400-grit, switch to a 100% Tru Oil solution, or whichever natural wood oil you choose. After allowing the thin layer of Tru Oil to dry over a few hours, sand the stock with 1000-grit sandpaper and repeat the oil application process.
Finishing your rifle stock is, by far, the most time-intensive portion of the gunsmithing process, but it yields the most satisfying results. Want to learn more about finishing your custom rifle stock? Talk to a gunsmithing associate or check out the selection of unfinished laminated birch blanks available online.